Picture this: It’s a chilly winter morning, and you’re already late for work. You jump into your car, turn the key, and… nothing. The engine’s dead, and you’re stuck shivering in the parking lot. That’s when I learned firsthand how clutch a good set of booster cables can be. Trust me, you don’t want to be caught off guard by a dead battery. So, let’s dive in and figure out how to pick and use top-notch booster cables like a pro!
Key Takeaways
- Why every driver needs booster cables in their trunk
- How gauge ratings help you choose the right cable thickness
- The best cable length for your vehicle
- Why good clamps make jump-starting safer and easier
- How insulation keeps you safe in any weather
- Tips for picking the perfect jump start kit for your ride
- Easy steps to jump-start your car without a hitch
Now that you’ve got the rundown, let’s break down what makes booster cables tick.
Understanding Booster Cables: Essential Features and Ratings
Booster cables—aka jumper cables—are your lifeline when your battery quits. But not all cables are created equal. Here’s what you need to know to choose the right ones.
Gauge Ratings: Decoding Wire Thickness
You might be wondering, “What’s a gauge rating?” Don’t worry—it’s simpler than it sounds. It’s just a number that tells you how thick the cable is. The lower the number, the thicker the wire, and the more power it can handle. Thicker cables are key for bigger engines.
Check this out:
| Gauge | Wire Thickness | Recommended for |
|---|---|---|
| 4 AWG | 5.19 mm | Large trucks, SUVs |
| 6 AWG | 4.11 mm | Full-size cars, small trucks |
| 8 AWG | 3.26 mm | Compact cars, motorcycles |
Got a hefty truck? Go for a 4 AWG. Driving a little sedan? An 8 AWG should do the trick.
Cable Length: Finding the Sweet Spot
Length matters too. Longer cables—think 16 to 20 feet—let you position cars however you need. But here’s the catch: if they’re too long, you might lose some juice. For most folks, 16 to 20 feet hits the sweet spot.

Clamps: The Real MVPs
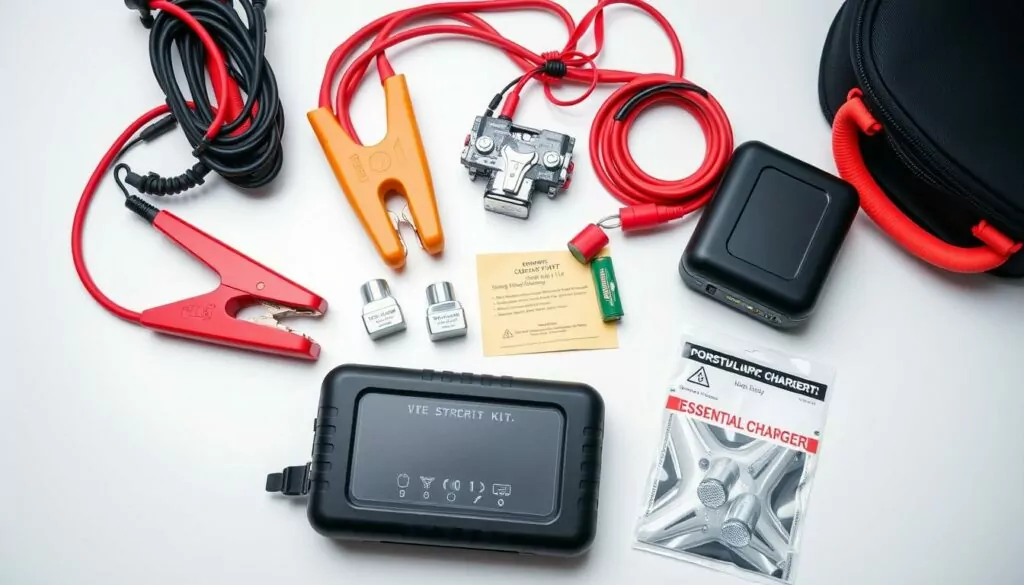
Clamps might not get much love, but they’re a big deal. You want heavy-duty, copper-plated ones that grip your battery terminals tight. Some fancy kits even have smart clamps with built-in safety perks, like protection if you mix up the connections. Pretty neat, huh?
Insulation: Your Safety Shield
Good insulation is non-negotiable. It keeps you safe from shocks and makes sure your cables hold up in rain, snow, or heat. Look for ones that meet SAE J1494 standards—that’s your guarantee they’re legit.
Alright, you’re a pro at cable features now. Let’s talk about picking the best jump start kit for your vehicle.
How to Choose the Best Jump Start Kit for Your Vehicle

Imagine you’re cruising down a quiet road, far from help, and your battery dies. Total bummer, right? But with the right jump start kit stashed in your trunk, you’re back in action fast. Here’s how to find one that’s perfect for you.
Match It to Your Engine
Start with your engine size. Small cars like hatchbacks need less power to jump, while big rigs like SUVs or trucks need more oomph. Pick a kit that matches your vehicle’s needs.
Keep It Compact
No one wants a clunky jump starter hogging trunk space. Go for a compact one—some even fit in your glovebox! That way, you’re always ready for trouble.
Must-Have Features
When you’re shopping, watch for these goodies:
- Peak Amperage: Higher numbers mean more power—great for big engines.
- Safety Stuff: Reverse polarity protection saves your car if you hook it up wrong.
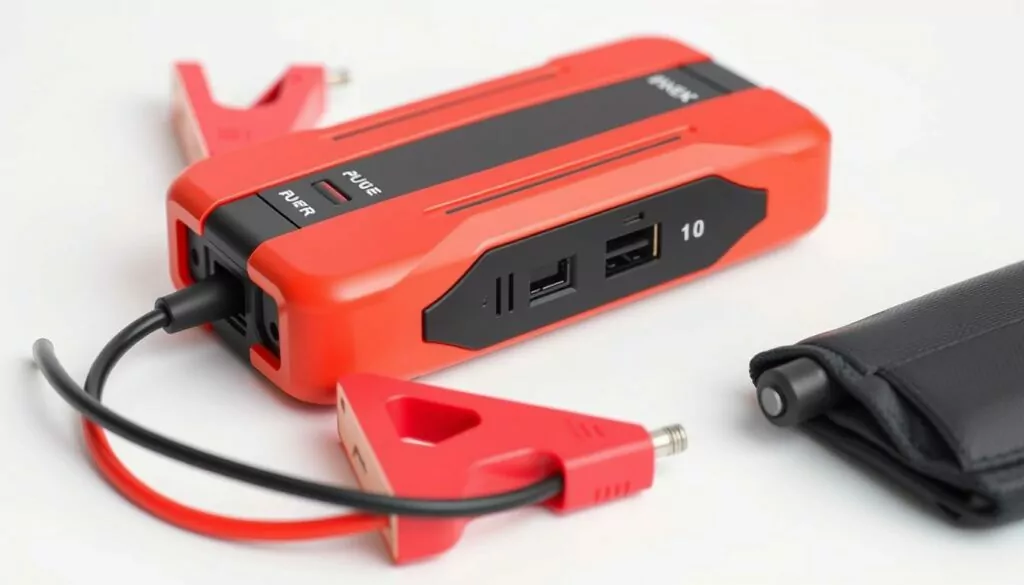
- Bonus Perks: USB ports or air compressors? Yes, please!
Battery Capacity: Go Big
If you might need multiple jumps before recharging, grab a kit with at least 10,000mAh. That’s enough juice to get you going a few times.
Listen to Other Drivers
User reviews are gold. They tell you how these kits hold up in real life—reliability, ease of use, all that jazz. Dig into those before you buy.
A solid jump start kit is like your car’s best buddy—always there to bail you out. Take your time picking one, and you’ll thank yourself later.
Got your kit? Awesome. Now, let’s make sure you know how to use those cables safely.
Safe Jump Starting Techniques with Booster Cables
Jump-starting can feel tricky, but it’s no biggie once you get the hang of it. Here’s a step-by-step guide to using booster cables—aka jumper cables—without any drama.
Step 1: Line Up the Cars
Park the working car near the dead one, but don’t let them touch. No one needs a scratched bumper!
Step 2: Get Ready
Turn off both engines and pop the hoods. Find the batteries and spot the positive (red, +) and negative (black, -) terminals. Not sure? Peek at your owner’s manual.
Step 3: Hook Up the Cables
Here’s the order—pay attention:
- Red to Dead: Clamp the red cable to the dead battery’s positive terminal.
- Red to Good: Attach the other red end to the good battery’s positive terminal.
- Black to Good: Clip the black cable to the good battery’s negative terminal.
- Black to Metal: Connect the last black end to an unpainted metal spot in the dead car’s engine bay—like a bolt. This keeps sparks away from the battery.
Step 4: Fire Up the Helper
Start the working car and let it run for a couple of minutes. This juices up the dead battery a bit.
Step 5: Wake the Dead
Try starting the dead car. If it’s stubborn, give it another minute and try again.
Step 6: Unplug Carefully
Once it’s running, take the cables off in reverse:
- Black from the metal spot.
- Black from the good battery.
- Red from the good battery.
- Red from the dead battery.
Keep the clamps from touching each other or anything metal while you’re at it.
Step 7: Charge It Up
Let the jumped car run for at least 15 minutes—or take it for a spin—to recharge the battery.
Heads Up
Jumper cables are a quick fix. If you’re using them a lot, your battery’s probably toast. Time to get a new one!
There you go—you’re now a booster cable expert! You can pick the right kit and jump-start your car like it’s no big deal. Don’t wait for a breakdown to test this out—check your trunk now. No cables? Grab a quality jump start kit that fits your vehicle. Oh, and keep up with battery maintenance to avoid this mess altogether.
Drive safe, and happy travels!
