I still remember my first home studio setup like it was yesterday. What a mess! Wires crawled across the floor like spaghetti gone wild, and I felt both thrilled and overwhelmed at the same time. In that chaotic tangle, jumper cables quietly became the true MVPs of my audio journey.
These unassuming cables did all the heavy lifting behind the scenes, connecting my musical ideas to actual recordings. And let me tell you something I learned the hard way – quality jumper cables can absolutely make or break your sound. When you spring for top-notch cables, you’re basically giving your audio a first-class ticket from instrument to listener’s ears.
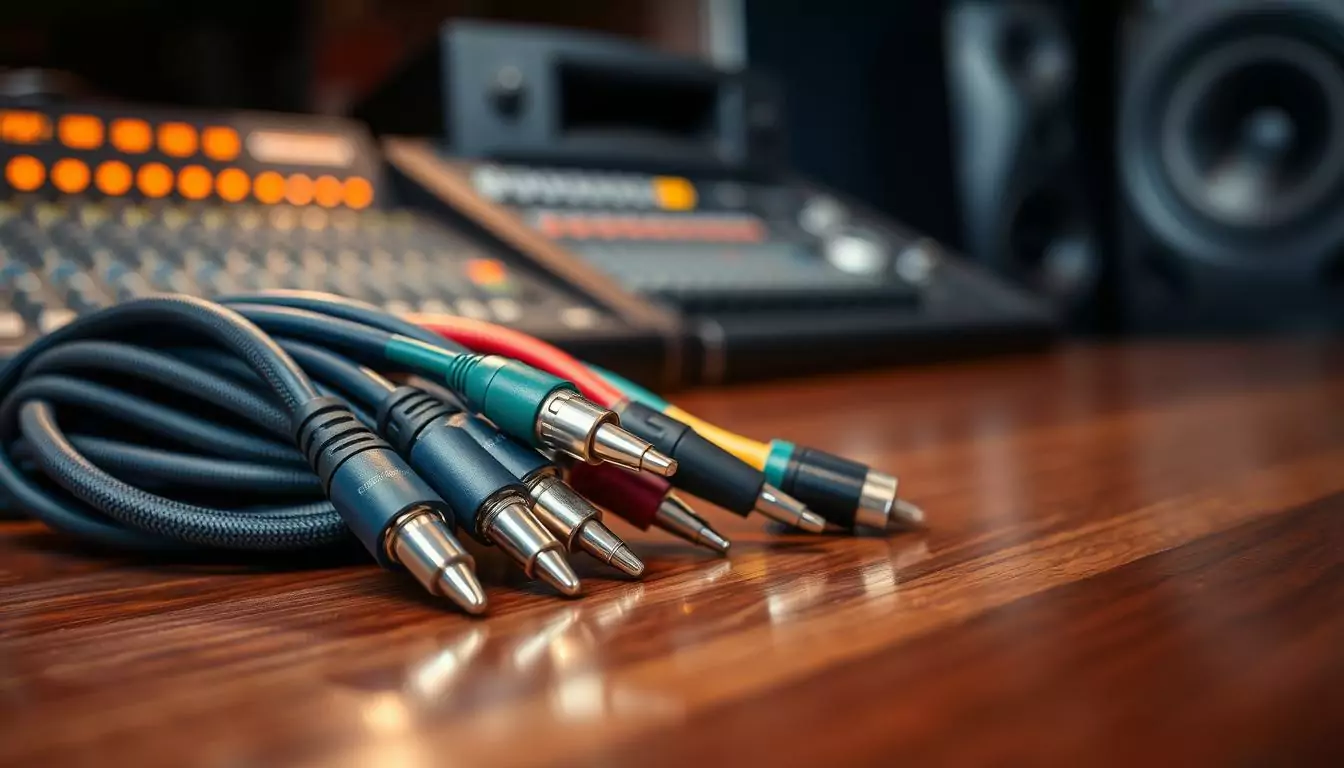
Professional audio connections directly shape how warm and clear your recordings sound. These cables aren’t just accessories – they’re the lifelines of your recording gear, making sure every tiny detail in your music comes through crystal clear.
Key Takeaways
- Jumper studio cables aren’t just connections – they’re crucial sound quality guardians
- The difference between pro-grade and cheap cables is immediately noticeable in your recordings
- Quality audio connections can transform good productions into great ones
- Think of premium cables as an investment in your sound, not an expense
- The right jumper cables will elevate every other piece of gear in your studio
Understanding Jumper Studio Cables and Their Essential Role in Audio Production
Let’s get real about jumper studio cables. These aren’t just random wires – they’re specialized patch cables designed with one job: maintaining pristine signal quality throughout your recording chain. Without them, even the most expensive gear in the world won’t sound its best.
Professional Jumper Cables vs. Consumer Cables
Ever wondered why pro cables cost more? There’s a good reason. Professional jumper cables blow consumer-grade options out of the water. They’re built tough to handle constant plugging and unplugging in busy studios. You’ll notice thicker insulation that resists wear and tear, plus beefier connectors that maintain solid contact even after thousands of uses.

Key Components and Build Quality
The secret sauce of quality jumper cables lies in their construction. The best ones use oxygen-free copper conductors – yeah, the good stuff that transmits signals with minimal resistance. They don’t stop there though. Look for multi-layer shielding (to block unwanted noise) and gold-plated connectors that resist corrosion even in humid studio environments.
These seemingly small details add up in a big way. They dramatically reduce signal loss and ensure your cables will still work perfectly years down the road. Trust me, replacing cables constantly is no fun!
Signal Integrity and Noise Reduction
Here’s something most beginners don’t realize – professional jumper cables are signal guardians. Their superior shielding acts like a force field against electromagnetic interference that would otherwise turn into annoying hums, buzzes, and clicks in your recordings.
“A chain is only as strong as its weakest link, and in audio production, that link is often the cable.”
I’ve seen it happen countless times – someone upgrades their mic or interface but keeps using cheap cables, then wonders why things still don’t sound professional. High-quality jumper cables ensure clean signal transmission throughout your entire setup, letting all your gear perform at its best. It’s these little details that separate amateur-sounding tracks from pro-level recordings.
Best Practices for Studio Cable Management and Organization

Let’s be honest – cable management isn’t the sexiest topic, but it’s a game-changer for your studio workflow. Plus, it protects your precious music equipment from damage. Here are some real-world tips I’ve learned the hard way about managing these essential studio essentials.
First, grab yourself some quality cable ties and labels – this small investment will save you hours of frustration later. I like to color-code my cables so I can identify what’s what at a glance. Blue for audio signals, red for power (always keep these separate!), and green for MIDI connections makes troubleshooting so much easier.
Here’s a pro tip: always label both ends of each cable. When you’re crawling behind your rack at midnight trying to fix something before tomorrow’s session, you’ll thank me! And speaking of routing, keep your signal path logical – this isn’t just about neatness, it’s about sound quality too.
Power cables should run separately from audio cables whenever possible. They generate electromagnetic fields that can bleed into your audio signals. I like to use cable trays or raceways to keep everything tidy, especially for permanent setups. For those quick sessions or live gigs? Gaffer tape is your best friend – it holds cables secure but doesn’t leave that nasty residue when you remove it.
Here’s my quick reference guide that I keep posted in my studio:
| Cable Type | Color Code | Routing Method |
|---|---|---|
| Audio | Blue | Cable tray |
| Power | Red | Separate conduit |
| MIDI | Green | Velcro straps |
Don’t forget maintenance! I set a monthly reminder to check my cables for wear and tear. You’d be surprised how quickly they can degrade, especially ones that get moved around a lot. Any signs of damage? Replace them immediately – that tiny nick in the insulation could be causing that mysterious static you’ve been chasing for weeks.
Good cable management isn’t just about looking professional (though it certainly impresses clients). It’s about creating a space where creativity flows without technical hiccups. Your future self will thank you when you can focus on making music instead of untangling wires!
Selecting the Right Professional Audio Connections for Your Setup
Choosing cables might seem straightforward, but there’s actually a bit of science to it. First, think about your specific needs – what gear are you connecting? How long do your cables need to be? Remember, longer isn’t always better – every extra foot introduces some signal degradation.
You’ll want to match your cable quality to the rest of your system. If you’ve invested in high-end preamps and converters, don’t cheap out on cables! That’d be like putting budget tires on a Ferrari. For serious studios, brands like Mogami, Canare, and Neutrik have earned their reputation for reliability in professional audio circles.
When shopping, look for telltale signs of quality craftsmanship. Good cables have solid, weighty connectors that feel substantial in your hand. The jacketing should be flexible but tough, and clear labeling is usually a sign that the manufacturer stands behind their product. These details might seem minor, but they add up to better signal transfer and fewer headaches down the road.
I learned this lesson the expensive way – buying cheap cables three times costs more than buying good ones once. Plus, quality connections protect your gear from electrical issues that could damage your precious equipment.
Remember, your studio chain is only as strong as its weakest link. With the right cables connecting your creative ideas to your listeners’ ears, you’re setting yourself up for professional results that truly showcase your musical vision.