A cold winter morning taught me the importance of jumper cable clamps. My car wouldn’t start, and a stranger offered help. Neither of us knew the correct procedure, sparking my interest in jump start clamps.
This experience motivated me to learn about using jumper cables safely. These simple tools can be lifesavers but also dangerous if misused. Knowing how to use them properly is crucial for all drivers.
Jumper cables can rescue you from being stranded. They’re essential for emergency situations on the road. Proper usage keeps you safe and gets your car running again.
Key Takeaways
- Proper use of jumper cable clamps is crucial for safety and effectiveness
- Understanding different types of battery booster cables helps in choosing the right equipment
- Correct identification of battery terminals is essential for safe jump-starting
- Following a step-by-step connection process prevents accidents and damage
- Knowing the proper disconnection order ensures safety after jump-starting
Understanding Jumper Cable Clamps and Their Components
Car jump leads are essential for safely jump-starting a vehicle. Knowing the components of jumper cables is crucial for proper use. Let’s explore the different types and features of automotive jumper cables.
Different Types of Battery Booster Cables
Car jump leads vary in gauge and length. Thicker cables handle more current, making them suitable for larger vehicles. For most passenger cars, 4-gauge or 6-gauge cables are recommended.

Anatomy of Heavy-Duty Clamps
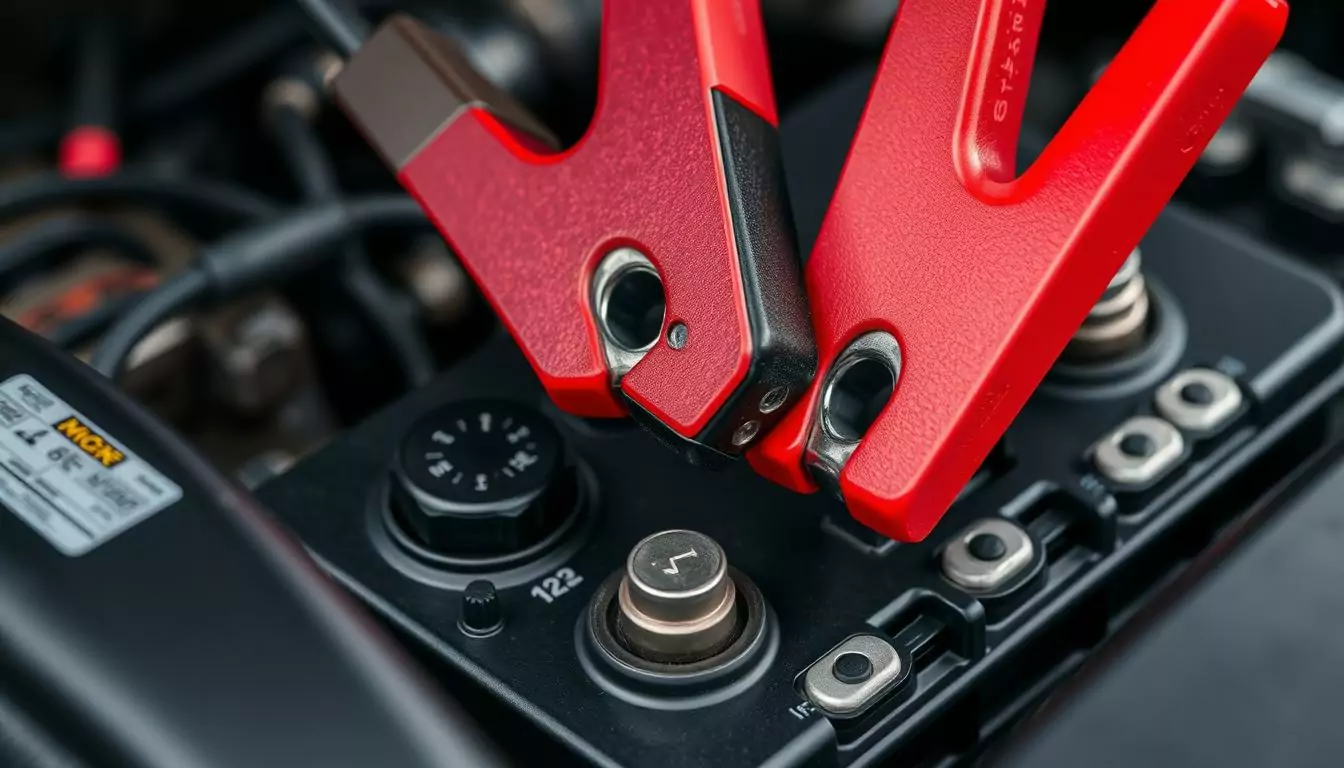
Quality jumper cables feature heavy-duty clamps with serrated teeth. These teeth ensure a secure grip on battery terminals. Copper or brass clamps offer excellent conductivity and resist corrosion.
Color Coding and Polarity Indicators
Automotive jumper cables use red and black color coding for polarity. Red clamps connect to the positive terminal, black to negative or ground. Some advanced cables include LED indicators for proper connection.
| Cable Type | Gauge | Best For |
|---|---|---|
| Standard | 8-10 | Small to mid-size cars |
| Heavy-Duty | 4-6 | Trucks and large vehicles |
| Commercial Grade | 1-2 | Industrial use |
Understanding these components helps you use car jump leads safely and effectively. Being familiar with jumper cables prepares you for unexpected situations. Stay informed and ready to handle vehicle emergencies with confidence.
Safety Precautions Before Jump Starting Your Vehicle
Safety is key when using emergency power cables or battery jump starters. Taking precautions before connecting vehicle booster clamps is vital. These steps help ensure a safe jump-starting process.

I start by checking the battery for cracks or leaks. A damaged battery needs professional help. Next, I inspect the emergency power cables for issues.
Good ventilation is crucial during jump-starting. It prevents harmful gas buildup. I always wear safety glasses and gloves for protection.
- Remove metal jewelry
- Keep sparks and flames away from the battery
- Ensure both vehicles are in park or neutral with parking brakes engaged
- Turn off all electrical components in the dead vehicle
The vehicle’s manual offers specific instructions. Some modern cars need special jump-starting procedures. Following these guidelines protects sensitive electronics.
“Safety isn’t expensive, it’s priceless. Take the time to protect yourself and your vehicle.”
| Safety Item | Purpose |
|---|---|
| Safety glasses | Protect eyes from acid splashes |
| Gloves | Prevent skin contact with corrosive materials |
| Fire extinguisher | In case of electrical fires |
| Flashlight | Illuminate work area in low light conditions |
These safety measures ensure a secure jump-starting process. They protect you and your vehicle when using booster clamps or jump starters.
Proper Connection Sequence with Jumper Cable Clamps
Using jumper cable clamps correctly is vital for safe car jump-starting. Let’s explore the right steps to follow. Safety is paramount when working with car batteries.
Identifying Battery Terminals Correctly
Always check the battery terminals first. The positive terminal usually has a “+” sign and is red. The negative terminal has a “-” sign and is typically black.
Step-by-Step Connection Process
Connect the jumper cable clamps in order. Start with the dead battery’s positive terminal, then the good battery’s positive. Next, attach the negative clamp to the good battery.
For the last connection, find a clean, unpainted metal surface on the dead car’s engine block or frame.
Proper Grounding Techniques
Grounding is crucial for safety. Ensure the last clamp isn’t near moving parts or the battery. This reduces spark risks and keeps the process safe.
Disconnection Order and Safety
After jumping, remove the clamps in reverse order. Keep engines running for a few minutes to recharge the dead battery. Always prioritize safety when handling car batteries and jumper cables.
