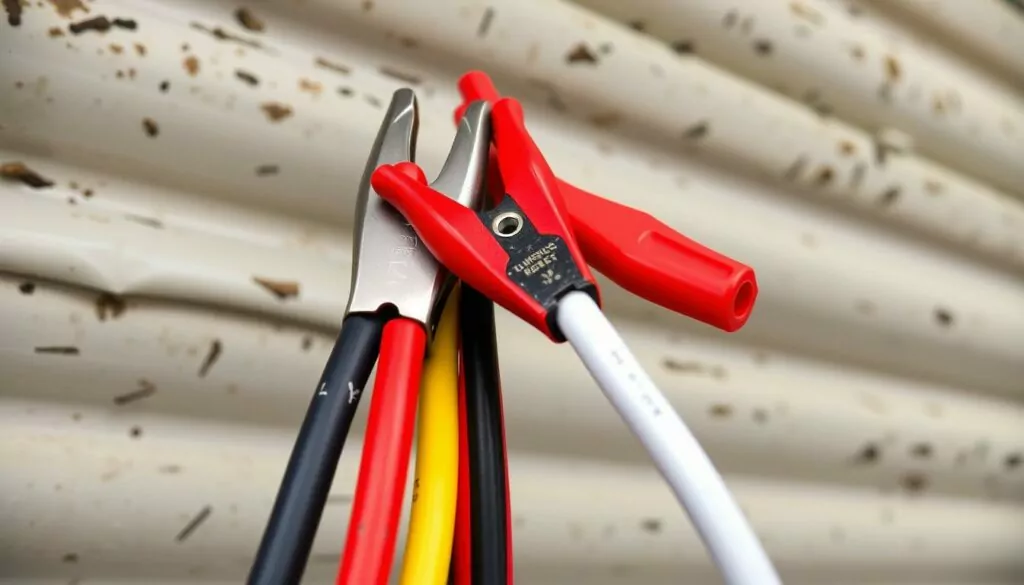
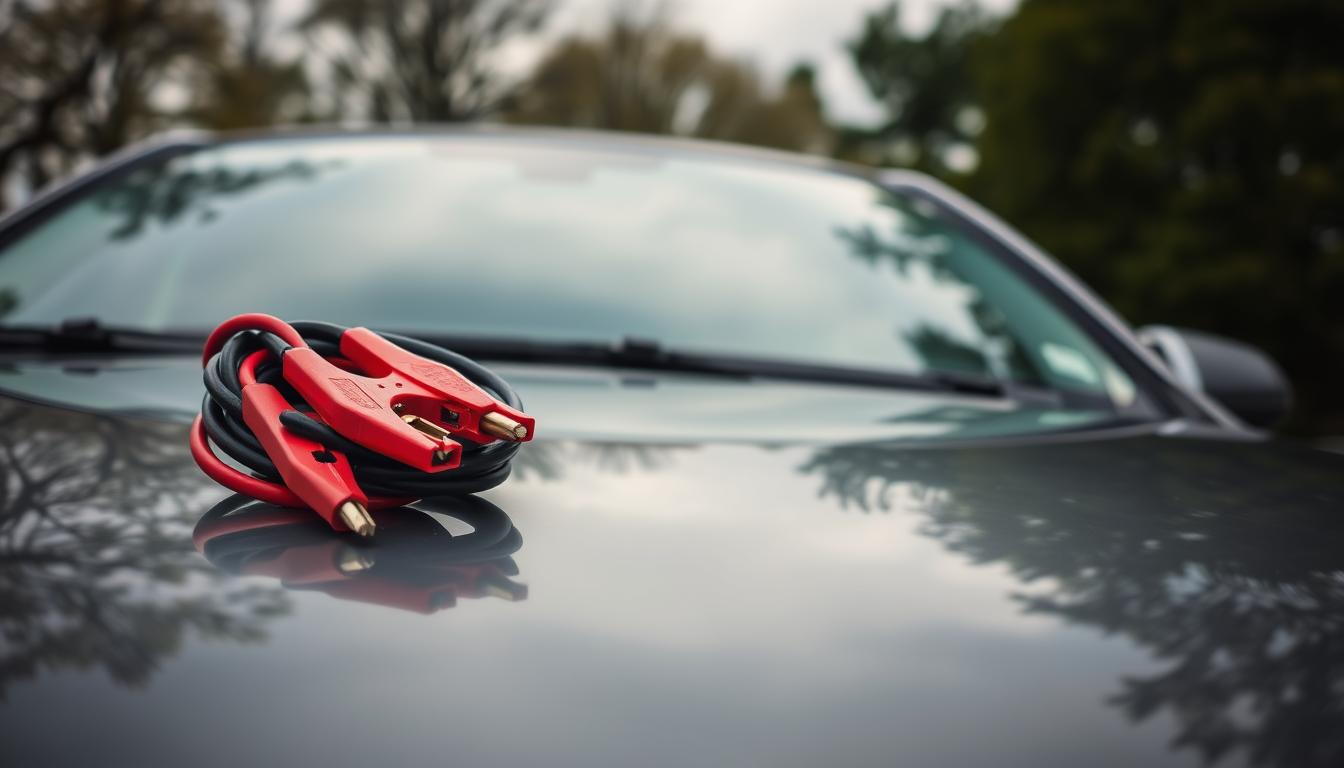
One frigid winter night, my car battery died in a remote parking lot. Panic set in as I realized I had no booster cables. This scary experience taught me the importance of being prepared for car emergencies.
Now, I’m here to share what I’ve learned about booster cables. My goal is to help you avoid the same stressful situation I faced.
This guide covers everything you need to know about jump start cables. You’ll learn how to choose the right emergency car battery cable. We’ll also explore how to use it properly.
Let’s explore booster cables and get you ready for any battery surprises on the road.
Key Takeaways
- Booster cables are essential for handling car battery emergencies
- Proper selection of jump start cables is crucial for safety and effectiveness
- Understanding cable gauge and length requirements is important
- Knowing the correct usage technique for booster cables is vital
- Regular maintenance of emergency car battery cables ensures reliability
Understanding Booster Cable Types and Specifications
Picking the right jumper cables is crucial for dead battery situations. Let’s explore key factors for selecting car battery booster cables. These factors will help you make an informed choice.
Cable Gauge Ratings Explained
Battery jump lead gauge indicates cable thickness. Lower gauge numbers mean thicker cables, which handle more current. Most cars work well with 4 to 6 gauge cables.
Heavier vehicles might need 2 gauge or 0 gauge cables. These thicker cables ensure optimal performance in larger vehicles.

Length Requirements for Different Vehicles
Cable length is important when connecting two vehicles. Compact cars usually need 10 to 12-foot cables. SUVs and trucks might require 20-foot or longer jumper cables.
Clamp Types and Their Safety Features
Jumper cable clamps are vital for secure connections. Look for these important features:
- Copper-plated clamps for better conductivity
- Rubber or plastic insulation on handles
- Spring-loaded jaws for a tight grip
- Color-coded (red and black) for easy identification
| Clamp Type | Safety Features | Best For |
|---|---|---|
| Alligator Clamps | Serrated teeth, wide opening | Most vehicles |
| Parrot Clamps | Extra-wide jaws, strong grip | Large batteries, commercial use |
| Smart Clamps | Reverse polarity protection | Inexperienced users |
These specs help you choose the right car battery booster. With the proper cables, you’ll be ready for any jump-start emergency.
Step-by-Step Guide to Using a Booster Cable Safely
Let’s explore how to use a vehicle jump start kit safely. Park the working car close to the dead battery. Make sure the cars don’t touch and turn off both vehicles.
Engage their parking brakes. Find the batteries and identify the positive (+) and negative (-) terminals. Connect the red clamp to the dead battery’s positive terminal.
Attach the other red clamp to the good battery’s positive terminal. Connect the black clamp to the good battery’s negative terminal. Attach the last black clamp to an unpainted metal surface in the dead car’s engine bay.
Start the working vehicle and let it run for a few minutes. Try starting the car with the dead battery. If it starts, let both cars run for about 15 minutes.
Disconnect the cables in reverse order. A car battery jump starter is crucial for emergencies. Always prioritize safety when using it.
